
Guides
Step-by-step Azure Latch guides covering your first match, position picks, goalkeeper basics, Flow timing and the tech that turns a beginner into a ranked regular.
Introduction
The Guides hub is the fastest route from a fresh account to a player who understands what the buttons actually do. Azure Latch does not play like a football game with anime skins bolted on: it plays like a fighting game wearing football boots, where every Style owns five numbered moves plus a special, each of those moves runs on its own cooldown, and the match ends after six minutes whether you have figured it out or not. That combination punishes improvisation. Our guides start with the literal first session — joining a server, sitting through the intermission, picking a position and finishing a full match without being carried — and then work outward into goalkeeper duty, Flow timing, curve shots, movement tech and the economy that funds your next Style roll. Each article is written against the developer's own published information so the numbers you read are the numbers the game shows.
Guide Track Quick Reference
| Track | What It Covers | Difficulty | Write Your First |
|---|---|---|---|
| First Session | Joining a server, intermission, position lock, the six-minute match loop and how cash is paid out. | Beginner | Beginner Guide |
| Positions | Central forward, wing, central midfield, centre back and goalkeeper duty, plus where each one should stand. | Beginner | Position Pick Guide |
| Goalkeeping | Dives, save angles, build-up passing and why keeper is the least forgiving role in the lobby. | Intermediate | Goalkeeper Guide |
| Controls & Tech | Move keys, parry windows, curve shots, volleys, techniques mode and the in-game Skill Builder. | Advanced | Tech & Controls Guide |
Guide Tracks
First Match Walkthrough
From server join to the final whistle in one sitting.
Position Selection
Choosing where you stand before the ball is in play.
Goalkeeper Fundamentals
The least forgiving role in the lobby, explained from scratch.
Advanced Tech
Where the edge lives once the basics are automatic.
Core Mechanics
Every guide here is built on the same underlying loop, so it helps to state it once. A session starts in an intermission where you choose a position and confirm a Style. Kick-off begins a six-minute match; goals, steals, ankle breaks and assists pay cash as they happen, and the first whistle ends the payout whether you won or lost. A win is worth 100 cash, a goal 50, an assist 30 and a steal or ankle break 20 each — losing or drawing pays nothing at all. Between matches you spend that cash on cosmetics or convert it into Style Coins at five to one, and Style Coins buy the Style rolls that change how the next match plays. That is the whole engine: play matches, get paid, convert, roll, and take the new Style back into a match to learn its five moves. Everything in the guides section is a refinement of one step in that loop.
Advantages
The advantage of learning through guides here rather than through trial and error is time. A new player who does not know that E dribbles while carrying the ball and toggles techniques mode without it will spend their first several matches pressing the wrong key at the wrong moment, and a player who does not know that Flow builds from tackles as well as goals will spend entire matches waiting for the metre to fill on its own. Guides also front-load the decisions that are expensive to get wrong: spending 250 Style Coins on a roll before learning a Style, taking goalkeeper duty into ranked before practising dives in public servers, or dumping cash into cosmetics when the conversion desk would have funded a better Style. Reading the first-session guide before your first match costs five minutes and saves a week of confusion. The advanced articles exist for a different reason — once the basics are automatic, the remaining edge is timing, and timing is teachable.
Challenges
The honest limitation of any Azure Latch guide is that the game ships roughly monthly. A patch can rework a Style's moves, add a new Flow variant or reshuffle the shop, and for a short window after that release the written advice is behind the live build. We date every article and re-check after each patch, but you should still treat any specific damage figure or cooldown as a snapshot rather than a law. A second limitation is source quality: the developer publishes some numbers, such as the cash payouts and the Lucky Spin cost, but leaves others — notably exact drop rates inside each rarity band — unpublished, so community estimates fill the gap. We label those clearly. Finally, guides cannot teach muscle memory. Knowing that Q tackles does not mean you will time the tackle correctly under pressure; that only comes from matches.
Frequently Asked Questions
Do I need to read a guide before my first Azure Latch match?+
What is the best position to start with?+
How often are these guides updated after a patch?+
Quick Tips
Play at least one full match to the final whistle before judging a Style. Three of the four cash payouts are tied to actions and one is tied to winning, but losses and draws pay nothing at all, so quitting early turns a productive session into an empty one. Finishing a losing match where you scored twice still pays more than leaving at kick-off, and it gives you two clips of your own mistakes to review against the guides.
Learn the position before you learn the Style. Your Style decides which five moves you can press; your position decides where you are standing when the ball arrives. A World Class Style played out of position loses to a Common Style played correctly far more often than players expect, because cooldowns and angles do the work that raw rarity cannot cover. Pick a role, learn its geometry, then optimise the Style inside it.
Use the beginner servers deliberately rather than escaping them. The game keeps newer accounts in lower-population lobbies until their statistics push them out, which is a rare opportunity to practise shooting and tackling against players at your own level. The players who rush into the main servers early spend their first week being punished by veteran Styles. Stay until your positioning is automatic, then move up and use the ranked unlock as your next milestone.
Featured
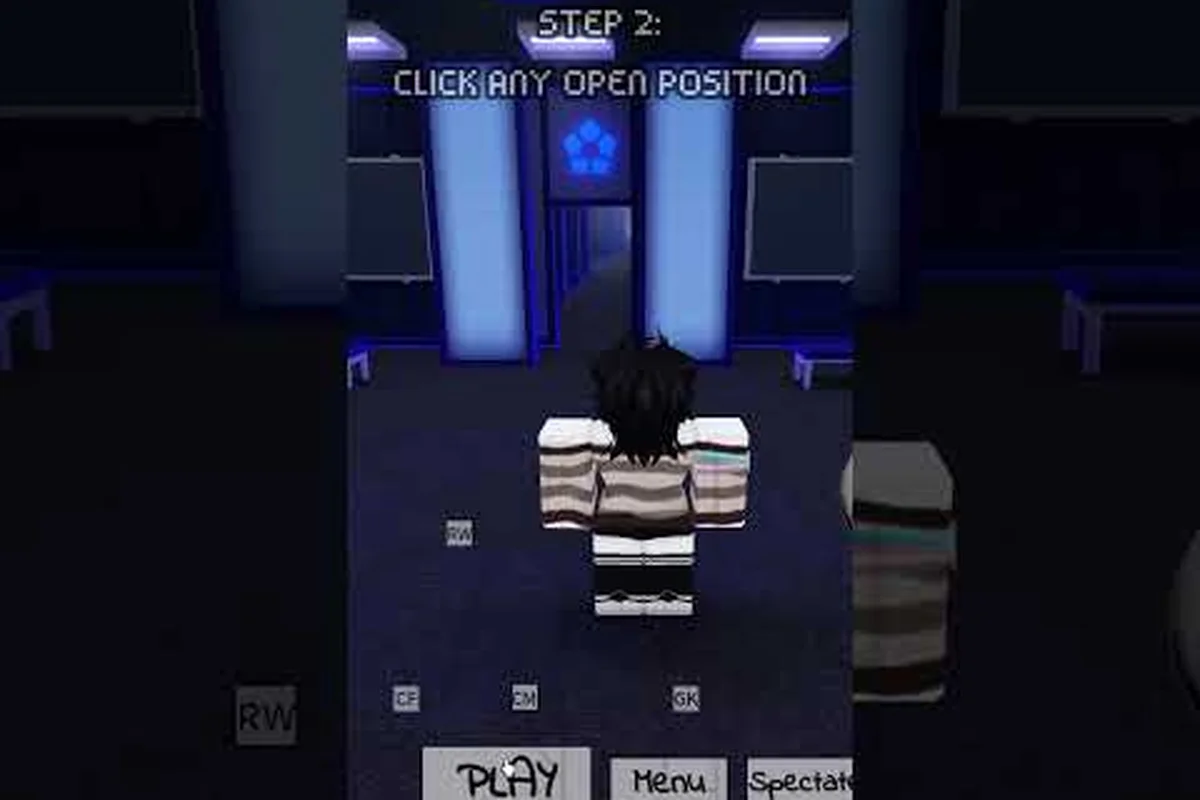
Azure Latch Beginner Guide: How to Play and Score Fast
Start your Azure Latch beginner guide with the 6-minute match format, 10-player servers, and the core flow-to-awakening loop every new player should master.
Azure Latch Guide: Tips, Techs, and Winning Strategies
Dive into the Azure Latch guide covering core techs like volleying and awakening, match-day strategy, and the tips top players use to score every game.
Azure Latch New Player Guide: Pick a Character and Win
Kick off your Azure Latch new player guide with the smartest first match picks, core positioning tips, and the progression habits that turn beginners into threats.
All Articles
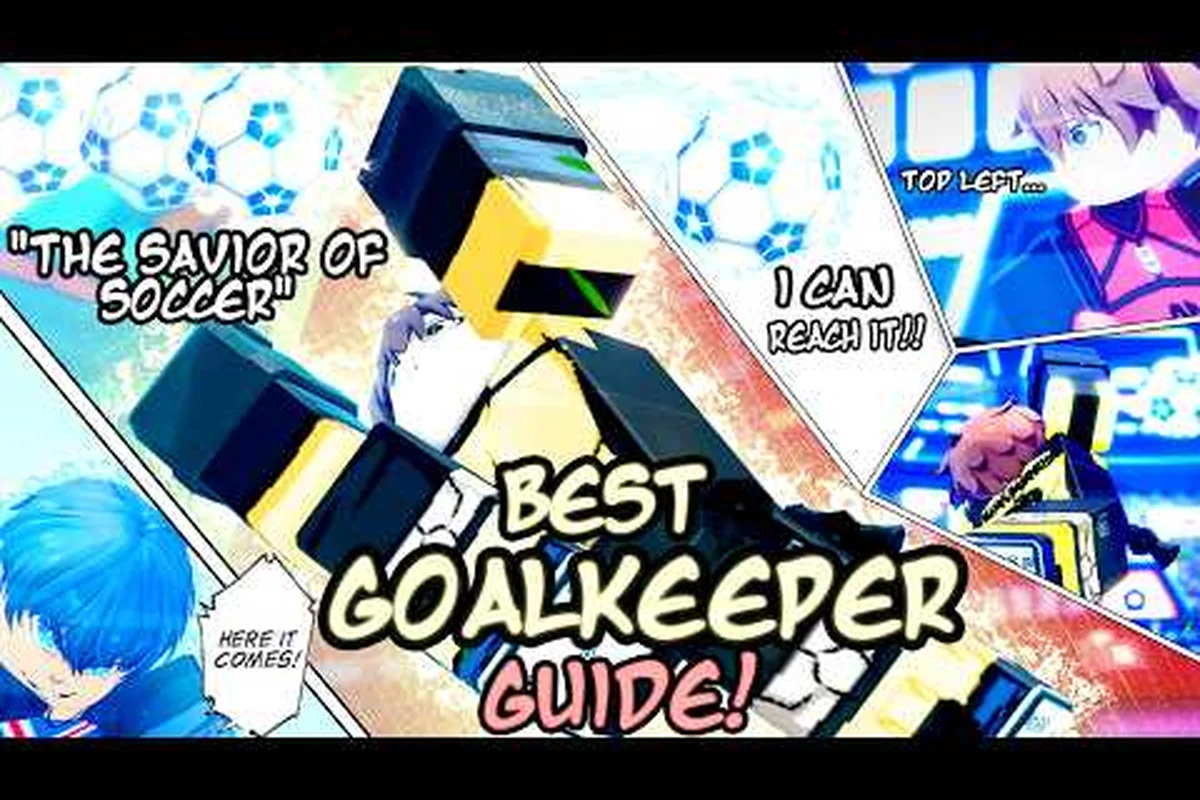
Azure Latch Goalkeeper Guide: Tips, Saves, and Positioning
Level up your Azure Latch goalkeeper guide with positioning reads, dive timing, and mobile/console control tips that turn the box into your fortress.

Azure Latch How to Play With Friends: Party Up and Win
Set up your Azure Latch how to play with friends routine, from private servers to squad roles, and start climbing together instead of solo-queuing.

Azure Latch Beginner Mistakes That Cost You Every Match
Spot the Azure Latch beginner mistakes players make before kickoff, from bad position locks to wasted flow, and learn the fixes that actually lead to goals.
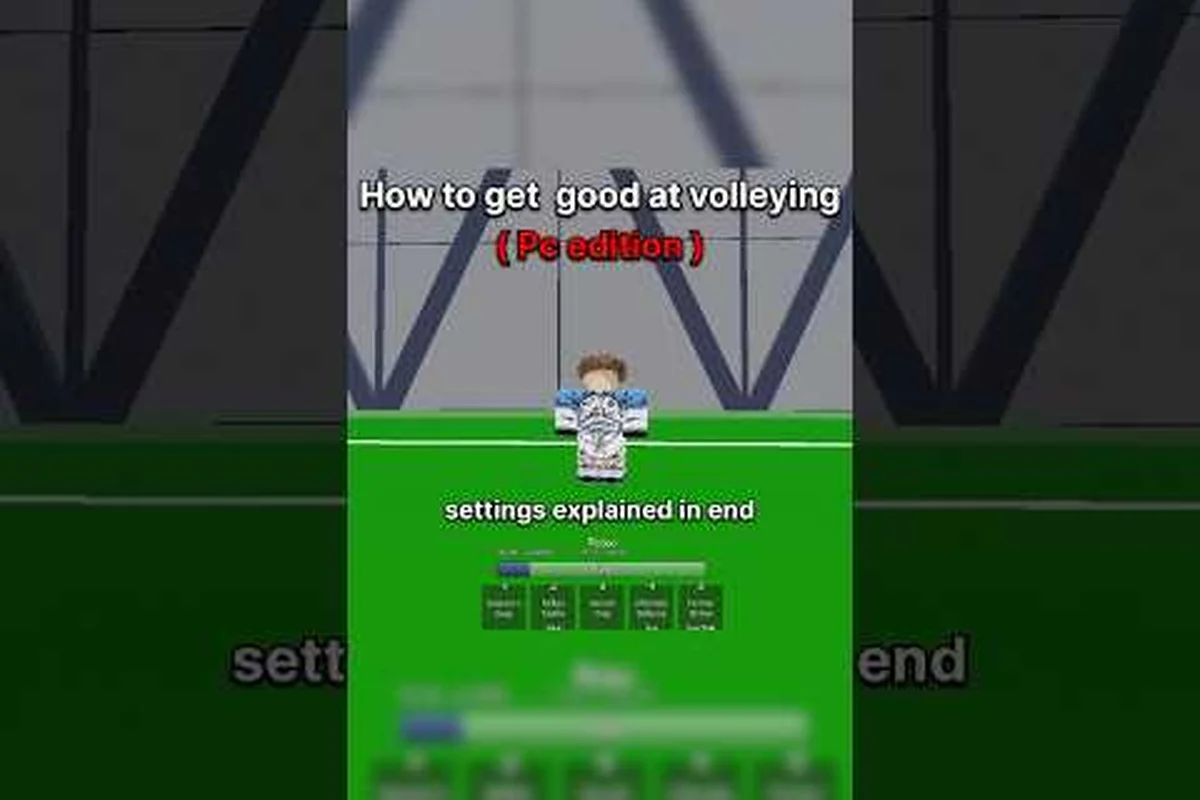
Azure Latch Best Settings, Keybinds, and Lag Fixes
Tune your Azure Latch best settings, keybinds, and ping fixes to hit cleaner shots, faster reactions, and smoother matches on any device.
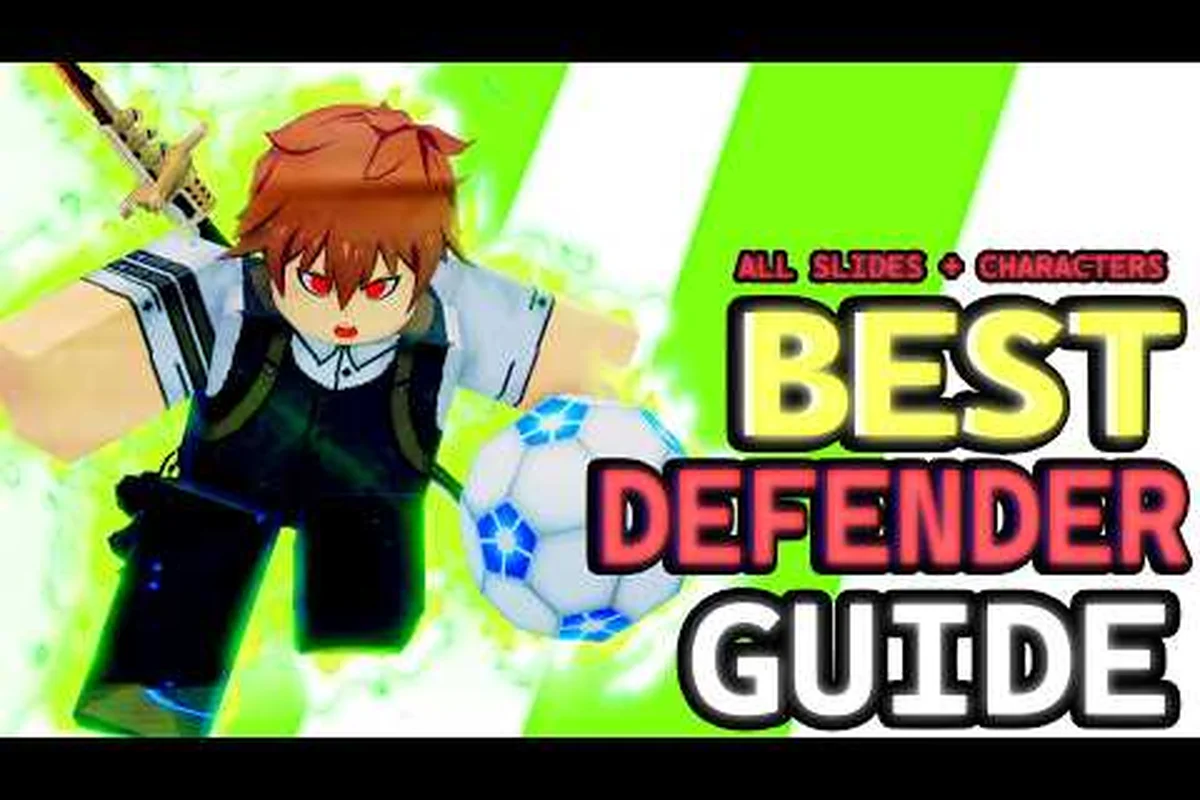
Azure Latch Best Position: Striker, Mid, Wing, or Defense?
Find your Azure Latch best position by comparing striker, midfielder, and wing playstyles so you can lock in during the 30-second intermission with confidence.
Azure Latch How to Air Dribble: Flow, Awaken, and Score
Learn Azure Latch how to air dribble step by step, from your first flow activation to midair juggles and the awakening that turns them into guaranteed goals.
Azure Latch How to Defend: Tackles, Blocks, and Saves
Master Azure Latch how to defend with smart positioning, clean tackles, and timing tips that shut down strikers before they ever reach the box.