
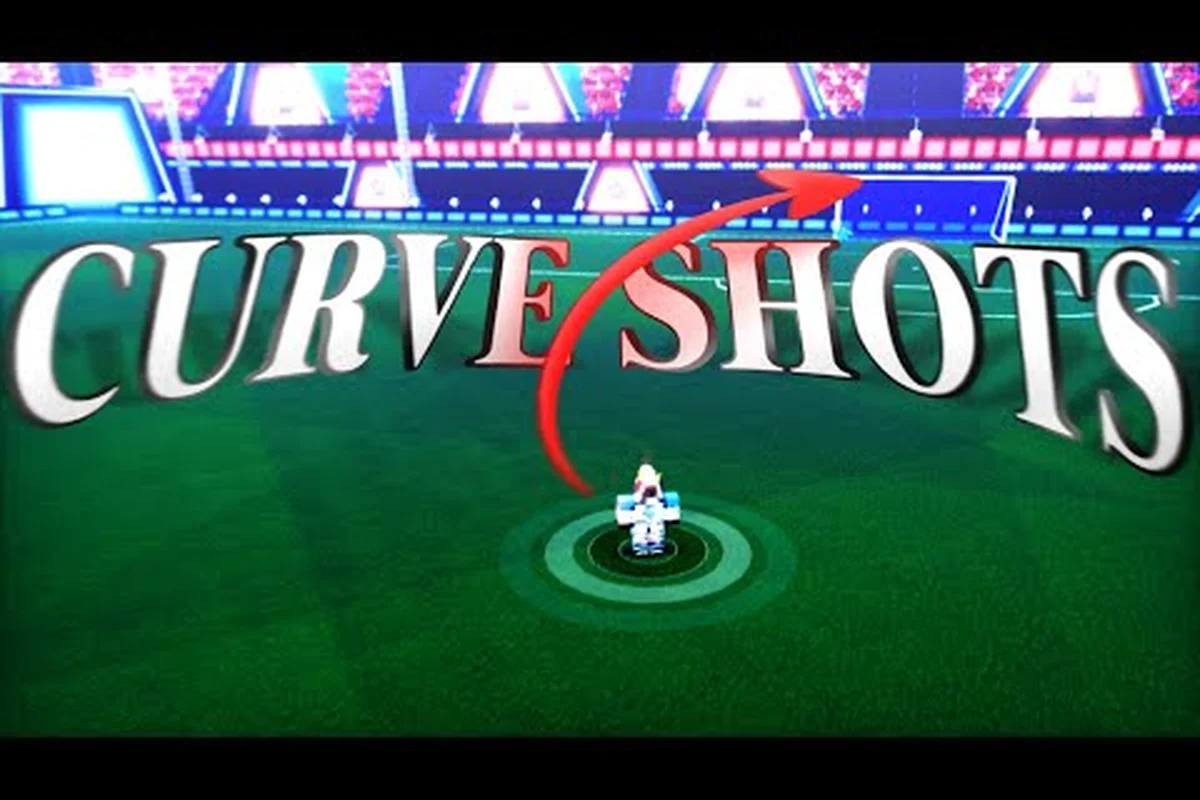
The curve shot is one of the most satisfying inputs in Azure Latch, and it is also one of the simplest to describe honestly. It is not a separate ability you equip or a named move in a menu; it lives inside the standard shooting input. M1 shoots, and looking up mid-run turns that shot into a curve. This guide covers the real inputs, the situations where the curve earns its place, how goalkeepers and defenders answer it, and how to drill it — without the frame counts and named shot variants that community write-ups often attach to it.
What the Curve Shot Actually Does in Azure Latch
A curve shot is a shooting input that bends the ball around a defender or a committed goalkeeper. In Azure Latch it is not a queued action, and there is no key you press to "enable" it: the standard shooting input produces a normal strike, a volley when you are close to the ball, and a curve when you look up during the run-up. The trigger is the aim, not a special binding.
The curve earns its place in three situations: cutting in from a wide position, finishing a move at the edge of the box, and punishing a goalkeeper who has already committed to your strong side. Because the shot keeps the same recovery as any other finish, the honest way to treat it is as a decision — a curve you take instead of a flat shot — rather than a free extra attack.
Default Bindings on PC and Console
| Input | PC (Keyboard / Mouse) | Console (Controller) | Purpose |
|---|---|---|---|
| Shoot | M1 (left click) | Right trigger | Base shooting input |
| Aim up during the run-up | Mouse or camera input | Right stick | Turns the shot into a curve |
| Style skills 1–5 | Keys 1–5 | D-pad plus a face button | The Style's five numbered skills |
| Tackle / lunge | Q | X | Stand tackle; a side dash when A or D is held |
| Goalkeeper dive | Q (in goal) | X (in goal) | Lateral dive while defending the net |
| Whistle / call pass | R | RB | Both behaviours are documented; official sources differ |
| Dribble / techniques toggle | E | LB | Dribbles with the ball; toggles techniques off it |
| Flow awakening | G | Y | Fires the awakening when the meter is full |
| speed boost | F | A | Short acceleration |
| Emote wheel | B | B | Cosmetic wheel |
| Rainbow flick | Space | X (double tap) | On-ball skill move |
| Style special | T | LT | The Style's T special, for example Doberman Charge on defensive Styles |
The row to notice is the second one. There is no documented modifier combination for the curve shot; the ball bends because you aimed upward as the shot was released. That is a small distinction with a large consequence, because it means the skill transfers between every Style in the roster — you do not need a particular character to curve a shot.
The Three Phases of a Curve Shot
| Phase | What happens | Player action | Common mistake |
|---|---|---|---|
| Setup | You arrive in range with a defender on one side | Get the ball on the foot you want and open the far post | Shooting while flat-footed |
| Aim | The shot is committed as you look up | Look up during the run-up so the shot bends | Aiming up too early and losing the flat option |
| Finish | The ball travels toward the far post | Hold your line toward the corner you picked | Correcting mid-flight and losing the bend |
Drilling the phases separately in a low-pressure match, then chaining them, is faster than trying the whole sequence at full speed, because the aim is the single input most players get wrong. The full scheme is M1 to shoot, 1-5 for skills, Q to tackle or dive, E to dribble, G to awaken and B for the emote wheel.
What Sits Around the Shot in the Kit
The curve is a shot, not a skill, which means it is always available and costs no skill slot. Everything else in the kit exists to create the moment where the shot is worth taking: the numbered skills move the ball and the defender, the T special changes the situation entirely, and the shooting input finishes it.
The Shooting Inputs You Actually Have
| Input | What it does |
|---|---|
| M1 | Standard shot; a volley near the ball; a curve when you look up during the run-up |
| Space | Rainbow flick, an on-ball skill move |
| R | Whistle or call pass — both are documented, and the official sources disagree on which |
| E | Dribble while you have the ball; toggles techniques mode when you do not |
| 1 – 5 | The Style's five numbered skills, which are the setup tools |
| T | The Style's special, its identity move |
| F | speed boost, for creating the half-yard the shot needs |
| G | Flow awakening, the strongest version of the kit |
What this table does not contain is a list of named shots. The game documents the shooting input and the volley and curve behaviours that come out of it, but it does not publish a menu of named finishes, so any list of named shot types is community vocabulary rather than developer terminology. Treat those names as shorthand if you like, but do not expect to find them in the game's own material.
Why the Setup Skills Matter More Than the Shot
A curve into a set defender is a low-percentage attempt, which is why the strongest curve shooters spend their skill slots on moving the defender rather than on adding another finish. A numbered skill that shifts the ball to the other foot, a well-timed speed boost, or an E dribble that forces a commitment all do the same job: they turn a blocked angle into an open one.
That is also why the Flow awakening matters to a shooting Style. The awakening is the biggest change your kit can make to a defensive shape, so triggering it before the shot rather than after is usually the difference between a blocked attempt and a clean look. Flow fills fastest from defensive work — tackles and interceptions add 12%, dribbles add 10%, and goals add 15% — so a forward who presses earns the awakening sooner than one who waits.
Reading the Goalkeeper: Iframes, Parry, and Counters
A curve shot is only as good as the read you make on the goalkeeper. Azure Latch has both iFrames (invincibility frames, during which a move cannot be interrupted) and a parry-style counter layer, so the shooter and the keeper are both working from the same set of windows. What the game does not publish is how many frames any of those windows last, so the useful skill is reading the situation rather than memorising a number.
The goalkeeper's tool is the dive, which shares its key with the tackle: Q. Because the same input does different things depending on where you are, a keeper who commits early is making a genuine guess about direction, and that guess is what a curve punishes. The shooter's answer is to release late enough that the guess is already made, and to aim for the post the keeper left behind.
Reading the Defender’s Body Lean
| What the keeper or defender does | Your answer | Why it works |
|---|---|---|
| Dives early | Delay the shot, then finish | They committed to a direction before the ball moved |
| Rushes out of the box | Shoot early or dribble around with E | An out-of-position keeper leaves the goal exposed |
| Stays deep in the goal | Aim for the far post | A deep keeper gives you the corner |
| Steps into the shooting lane | Shift the ball with a numbered skill first | A blocked angle becomes an open one |
| Commits a tackle | Dribble past or use the speed boost | A missed tackle removes them from the play |
The pattern behind the table is the same in every row: the curve is strongest when the defender has already chosen, and weakest when they have not. Shooting into an undecided defender is how a curve shot becomes a blocked shot.
Why No Exact Frame Data Exists
If you go looking for exact iFrame counts or parry windows for Azure Latch, you will find numbers. You will not find a source for them, because none of that data is published. The honest version of this section is therefore qualitative: the windows exist, they are learnable through play, and the way to learn them is repetition rather than a table.
Timing, Aim, and Cooldown Management
The curve shot has no cooldown of its own, because it is a shooting input rather than a numbered skill. What it does have is recovery, and recovery is the currency you are actually spending: a shot you take is a moment you are not dribbling, not tackling, and not moving at full speed. Managing the shot means managing when it is worth that cost.
What Actually Affects a Shot
| Factor | How it changes the shot |
|---|---|
| Distance | Longer range means a slower ball and more time for the keeper to read it |
| Angle | A tight angle removes the near post and makes the far post the only target |
| Aim direction | Looking up during the run-up bends the ball; keeping it level keeps it flat |
| Keeper position | A committed keeper gives you a corner; a set keeper takes it away |
| Defensive pressure | A defender in the lane blocks the shot before it reaches the keeper |
| Your own movement | Shooting while still tends to be cleaner than shooting at full sprint |
The one input a new player should practise in isolation is the aim. Everything else in that table is a read; the aim is the mechanical skill, and it is the difference between a curve and a shot straight at the goalkeeper.
Cooldown and Resource Tips
-
Remember the shot is free, the setup is not. Skills 1 through 5 and the T special all run on cooldowns, so the shot you take is only as good as the situation the skills created.
-
Watch Flow, not a timer. Flow fills at 12% for a tackle or interception, 10% for a successful dribble, and 15% for a goal. An awakening earned through defensive work is an awakening you can spend on a shooting chance.
-
Do not chain attempts. A missed shot puts you out of position for the rebound. If the first attempt is blocked, recover shape before trying again.
-
Track the bars rather than memorising numbers. The game does not publish cooldown values, and the on-screen bars are the only reliable signal of what is ready.
Choosing a Style Around the Shot
Because the curve is available to every Style, the question is not which Style can curve a shot — they all can — but which Style's kit creates the best chance to take one. That is a question about setup, not about a hidden shooting passive, and the published rarity bands are the honest frame for it.
| Band | Rollable Styles | What it tells a shooter |
|---|---|---|
| World Class | Michael Kaiser, Itoshi Rin, Don Lorenzo, Mikage Reo | The rarest roll band; smallest pool, published rate 0.4% |
| Mythic | Tabito Karasu, Eita Otoya, Jin Kiyora, Itoshi Sae, Oliver Aiku, Barou Shoei, Yukimiya Kenyu, Kunigami Rensuke | The largest band, published rate 1.7% |
| Legendary | Kurona Ranze | A single Style in the band, published rate 4.3% |
| Epic | Shidou Ryusei, Bachira Meguru, Nagi Seishiro, Chigiri Hyoma | Published rate 8.5% |
| Common | Isagi Yoichi, Gagamaru Gin | Published rate 85.1%; the two Styles most players own first |
The practical advice is to learn the shot on whatever Style you already have rather than chasing a band. A player who can curve a shot reliably on Isagi Yoichi, a Common Style, is more dangerous than one who owns a World Class Style and has not learned to aim. Rarity governs how hard a Style is to obtain, not how well it strikes a ball.
If you do want to plan a roll around shooting, the numbers that matter are the economy ones: a roll costs 250 Style Coins, duplicates refund roughly a tenth, Cash converts to Style Coins at 5:1, and a Lucky Spin costs 150 Robux or 15,000 Style Coins with published per-band odds.
Practice Drills and Match Application
Theory only matters if it survives contact with a defender, and the curve is especially unforgiving because the angle closes the moment someone steps into the lane. The drills below progress from no-pressure repetitions, where you isolate the aim, to live scenarios where the shot comes out of a real move.
Drill 1 — Isolate the Aim
Set up outside the box with no defender. Take a series of shots with the aim held level, then a series with the aim moved up during the run-up, and compare the flight of the ball. The goal is not to score; it is to feel which input produces the bend, so your hand knows the difference before a defender is involved.
Drill 2 — Read the Defender
Add one passive defender between you and the goal. Watch which side they weight and take the shot toward the space they have given up. When they close the angle, practise shifting the ball with a numbered skill or a short speed boost first. This drill trains the decision rather than the mechanics.
Drill 3 — Beat the Keeper
Bring in an active goalkeeper who dives. The lesson here is timing: release the shot after the keeper commits, not before. Because the keeper's dive and the outfield tackle share the Q key, a committed keeper is a keeper who cannot change direction, and that is the moment to finish.
Drill 4 — Match Pressure
Finish a move at the edge of the box off a return pass. If the defender expects the pass, shoot; if they expect the shot, pass. The decision lives in the half-second between receiving the ball and starting the shot, and it is the single most transferable skill in this guide. For how a shooting Style fits into a wider team shape, including the differences between 6v6 and 11v11 spacing, the Azure Latch 11v11 and 6v6 guide covers role-specific positioning for players who rely on the finish.
Frequently Asked Questions
How do you curve a shot in Azure Latch?
The curve comes out of the standard shooting input, which is bound to M1 on PC and the right trigger on console. Looking up during the run-up turns the shot into a curve rather than a flat strike; there is no separate modifier combination documented for it, which is why the skill works on every Style in the roster.
Does the curve shot have a cooldown?
It does not have a skill cooldown, because it is a shooting input rather than one of the Style's numbered skills. What it has is recovery: taking a shot is time you are not dribbling, tackling, or moving at full speed, so the real limit is when the attempt is worth that cost.
Can a goalkeeper save a curve shot?
Yes. Goalkeepers dive with the same key outfield players use to tackle, Q, and they also have access to a parry-style layer. The way to beat a keeper is timing: release after they commit to a direction, then aim for the post they left behind. Committing the shot before they move gives them the advantage.
Are there named shot variants I should learn?
Community guides often use named shot types as shorthand. Those names are community vocabulary rather than developer terminology: Azure Latch documents the shooting input and the volley and curve behaviours, but it does not publish a menu of named finishes, and no frame data or per-move statistics are published either. The underlying inputs are the ones described in this guide.
Does the curve shot work in 6v6, 11v11, and Legacy?
The shooting input behaves the same way across the modes, so the curve is available everywhere. What changes is the space around you: in 11v11 there is more defensive cover and the shooting lane closes faster, while in 6v6 the gaps stay open longer. The skill is the same; the decision about when to use it is not.